[ad_1]
Last year, my old phone finally decided it had come to the end of its life, and after a lot of research, I decided to replace it with a Fairphone 3. A couple of days later, I unwrapped my shiny (and surprisingly weighty) new toy – and learned that just moments after I completed my order, the company had launched a Fairphone 3 Plus with improved front and rear cameras. Bother.
That wasn’t a problem, though. The Fairphone is a little different to your typical handset. Not only is it made as ethically as possible, with factory workers paid a decent wage and metals sourced as responsibly as possible, it’s also modular, so you can buy parts and simply replace them yourself.
Much of the phone’s extra weight comes from the fact that it’s held together with screws rather than glue, and it’s even supplied with a little Philips 00 screwdriver to tempt you to open it up and start tinkering.
(Image credit: Future)
It all sounded excellent, so I got my hands on the replacement top unit and camera unit that would bring my phone up to date – then did nothing. Many of my colleagues aren’t too fond of the Fairphone, despite its green credentials, but mine is a pretty big deal to me. It wasn’t cheap, either. What if, butterfingers that I am, I broke something?
And so the units sat in their little blue packages until, almost a year after the 3 Plus laumched, I could finally stand the guilt no more and took up my little screwdriver. It was time to get started.
Open her up
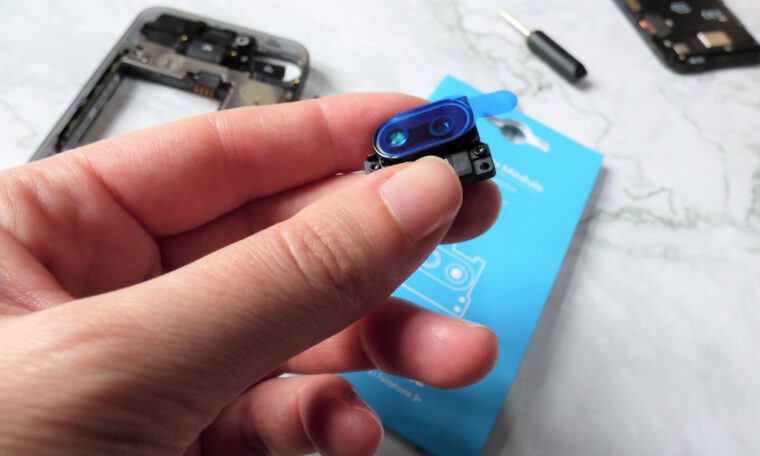
The top module (containing the 16MP front camera) and the 48MP rear camera module are sold separately, and come in their own little protective packages. I opened one and fished out an instruction guide offering a link to tutorial videos, some general advice about preparing your workspace, and a warning that improper use of the components could lead to death, injury, or environmental damage. Good to know.
The instruction booklet for the phone’s replacement top unit gives grave warning about the perils of improper use (plus the URL of a cheery YouTube video tutorial) (Image credit: Future)
First, the cheery lady in the YouTube video advised, I needed to remove my phone’s bumper and peel off the back case. No problem – it’s a flexible piece of translucent plastic that clips and unclips easily, and had to be removed to fit the SIM on the first day. Next, I popped out the battery. No trouble.
After that, things got interesting. The next step was to grab that little Philips 00 and remove a grand total of 13 little screws holding the phone’s display unit in place. Definitely make sure you’re doing this on a flat surface, and drop each screw into a container as you remove it.
The display unit is held in place with 13 screws. Make sure you keep them somewhere safe! (Image credit: Future)
That done, it was time to remove the display unit. This is done by holding the phone with your right thumb in the battery compartment, and pressing until it begins to unclip. This took rather more force than I’d expected.
Eventually though, it came away, and after easing the two sections of the phone apart, I was ready to get stuck into the next stage: removing the top unit.
Removing the display unit took a little more pressure than I’d expected, but it came away nicely once I was a bit more stern with it (Image credit: Future)Out with the old
The next job also took a little more oomph than I’d expected. A small ribbon cable transfers data from the phone’s top unit to its processor, and needs to be detached before the unit can be removed. This is done by using your fingernail to push down a small clip.
It looked easy enough in the video, but like removing the display unit, took a little more force than I’d anticipated. It’ll also be tough if you’re a chronic nail-biter, and something like the iFixit Opening Tool will come in handy if you’ve gnawed yours down too far.
The top unit has a ribbon cable that you can detach with a fingernail (provided your nails are tough enough) (Image credit: Future)
That done, it was time to take out some more screws – just two this time. They’re identical to those used in the rest of the phone, so if you’re following along at home, don’t worry about mixing them up.
Actually removing the old top unit proved to be the most nerve-wracking part of the operation. The video showed it popping out effortlessly, but mine seemed to be a little more solidly attached. The instructor appeared to ease it out by bending the phone ever so slightly, but I could just imagine a sudden snap putting an end to my DIY efforts.
The top unit was a trickier to remove than the video suggested, but only very slightly (Image credit: Future)
Eventually I decided to turn the whole phone face-down and let gravity to a little of the work for me. With only the gentlest of twists, the top unit was free, and the phone was ready for its transplant.
In with the new
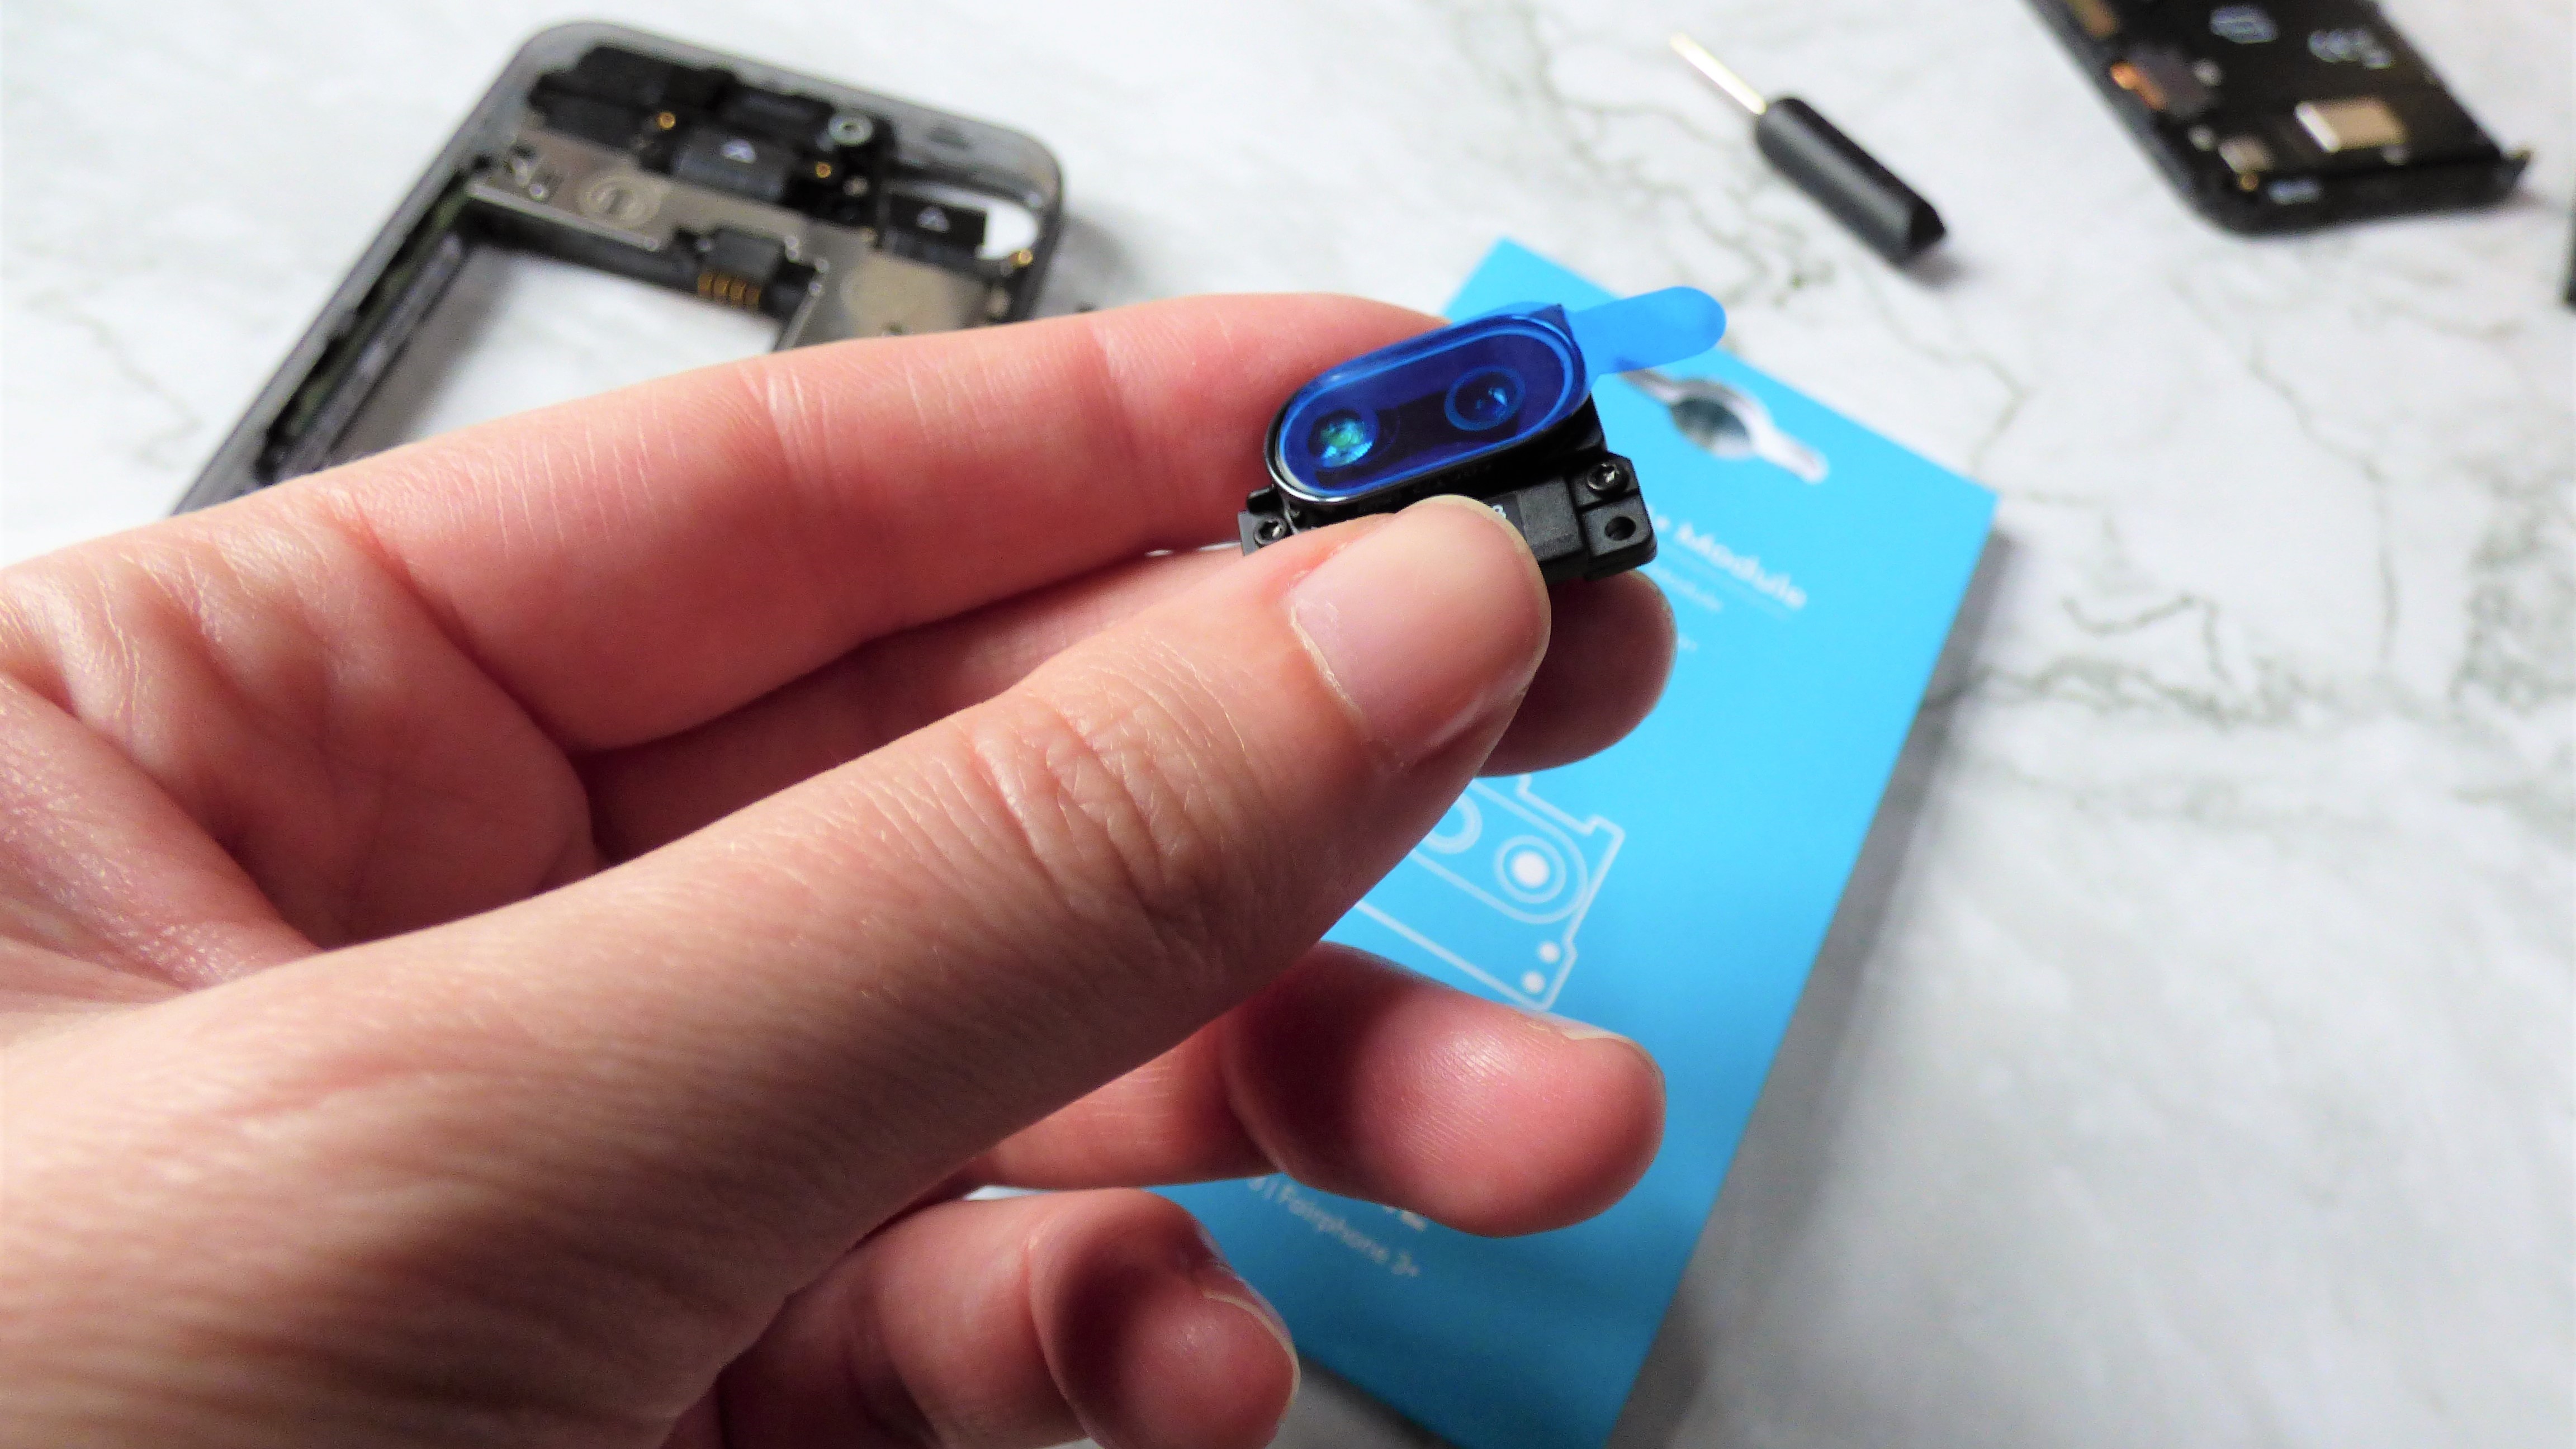
Fitting the new top unit was simplicity itself. I just had to remove the blue plastic covering the lens (something not mentioned in the video but well worth remembering unless you’re a particularly big fan of Instagram filters.
That done, I replaced the screws, then pressed the ribbon cable firmly back into place. Emboldened, I then repeated the process to replace the camera unit. It was exactly the same, but removing the old camera was much easier, as I was able to gently press on its lens to release it.
Switching the old camera module for the new one was even easier than replacing the top module (Image credit: Future)
Again, fitting the new camera was a matter of peeling off the sticky blue plastic, then poking the unit into place. I pushed the ribbon cable back into place, and set about replacing the 15 screws (two for the camera, plus the 13 securing the display unit).
I managed not to lose any, though I did sit puzzled for a couple of minutes when I came to the final screw and couldn’t see its corresponding hole. It’s worth bearing in mind that it doesn’t matter which order you remove and replace the screws in, so long as you get them all. I eventually spotted the rogue hole on the right-hand edge, slipped the screw into place and tightened it.
The display unit is held in place with 13 screws. Don’t lose them! (Image credit: Future)
Finally, I slotted the battery into place, pressed on the rear cover (it really does make a satisfying click), crossed my fingers and held the power button.
To my relief, the Fairphone logo appeared on-screen, and it booted as normal, but the real test was experimenting with my new additions. I grabbed the first things that came to hand and snapped away.
Even the best camera can’t compensate for my shoddy composition skills (Image credit: Future)
The operation was a success! The new camera doesn’t deliver the same quality as an iPhone 12, but it’s a big upgrade nonetheless I am now the proud owner of a Fairphone 3 Plus, a mere 10 months after its initial release. I also tested the selfie camera, but it’s rather unforgiving so you’ll just have to take my word for it.
All in all, the process was extremely easy, and I certainly wouldn’t hesitate to grab that little screwdriver and get stuck in again. The team at Fairphone as as good as their word, and it really is a breeze to open up the handset and get stuck in. Hopefully there’ll be more upgrades in the future. A new phone is just 13 screws away.
Today’s best Android phone deals
[ad_2]
Source link